1 How to Enable or Disable USB Selective Suspend with Device Manager2 How to Enable or Disable USB Selective Suspend in Windows 10 via Control Panel
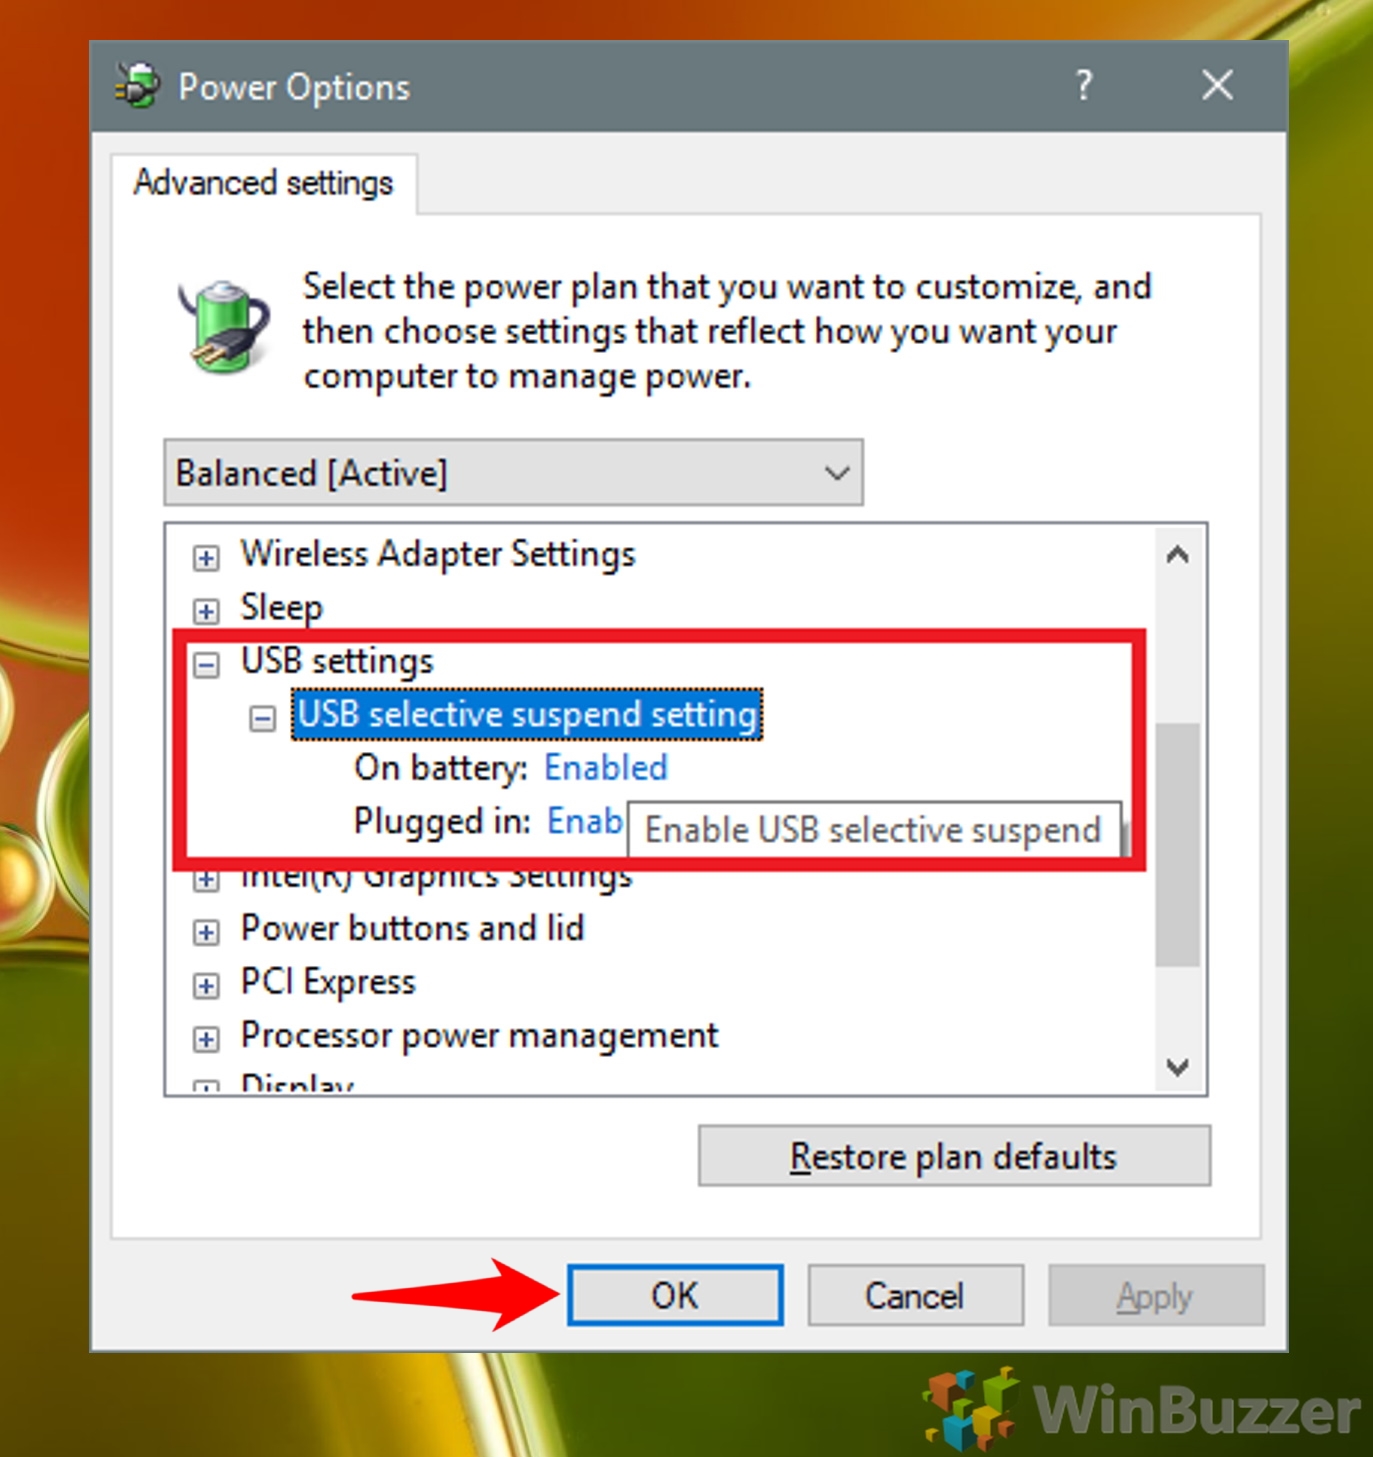
This is incredibly useful – when it works correctly. You can automatically suspend devices like fingerprint readers without affecting any of the other devices plugged into your ports. Unfortunately, some users report bugs with the feature that make it remain active when they plug back in. As a result, you may need to fix USB selective suspend with some device manager or Control Panel tweaks. This tutorial will show you how to enable or disable USB selective suspend in Windows 10 so you can save battery or set your USB ports to always on.
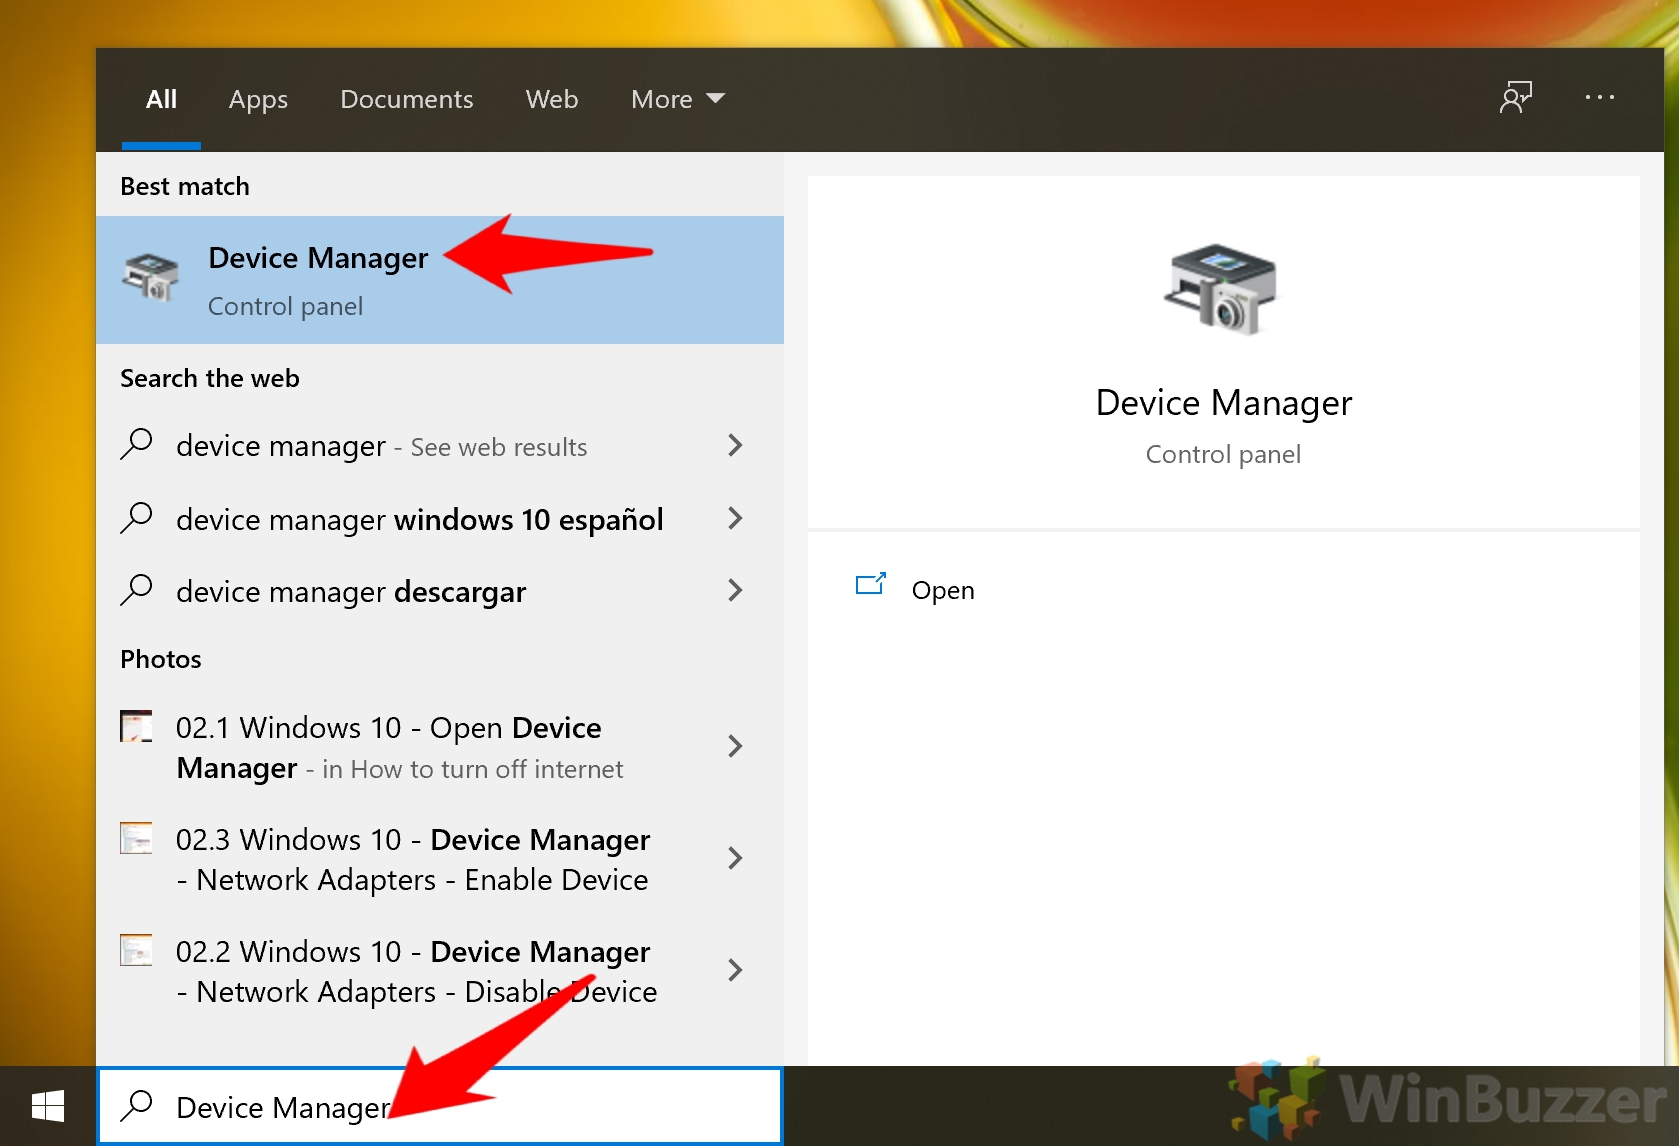
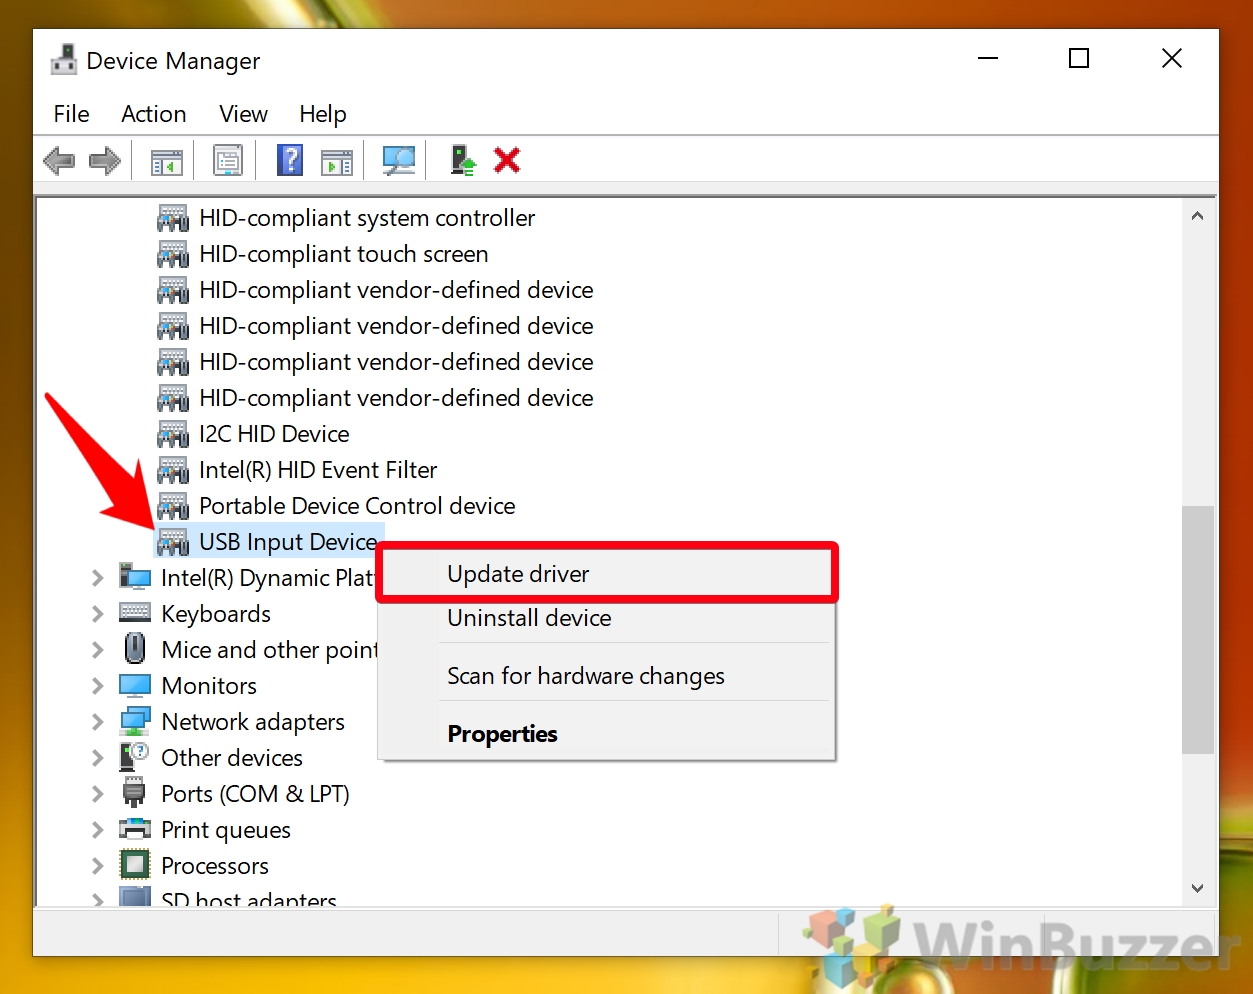
How to Enable or Disable USB Selective Suspend with Device Manager
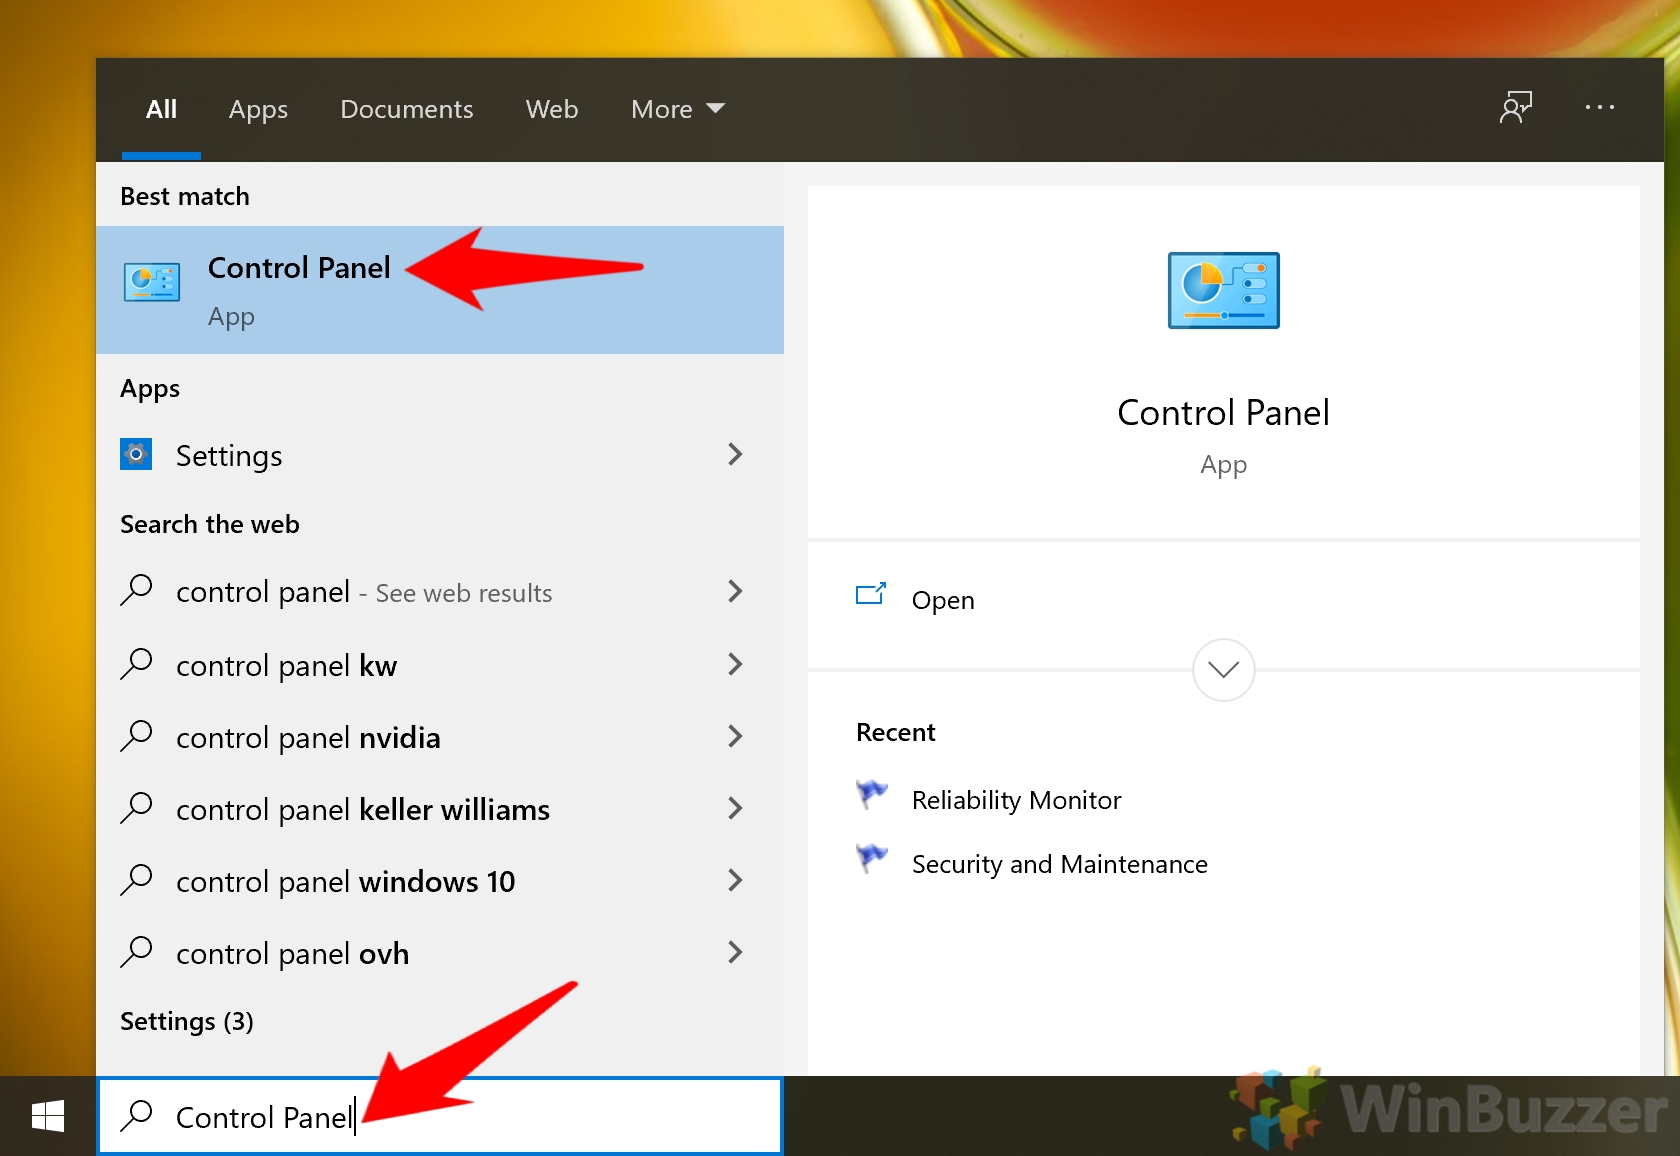
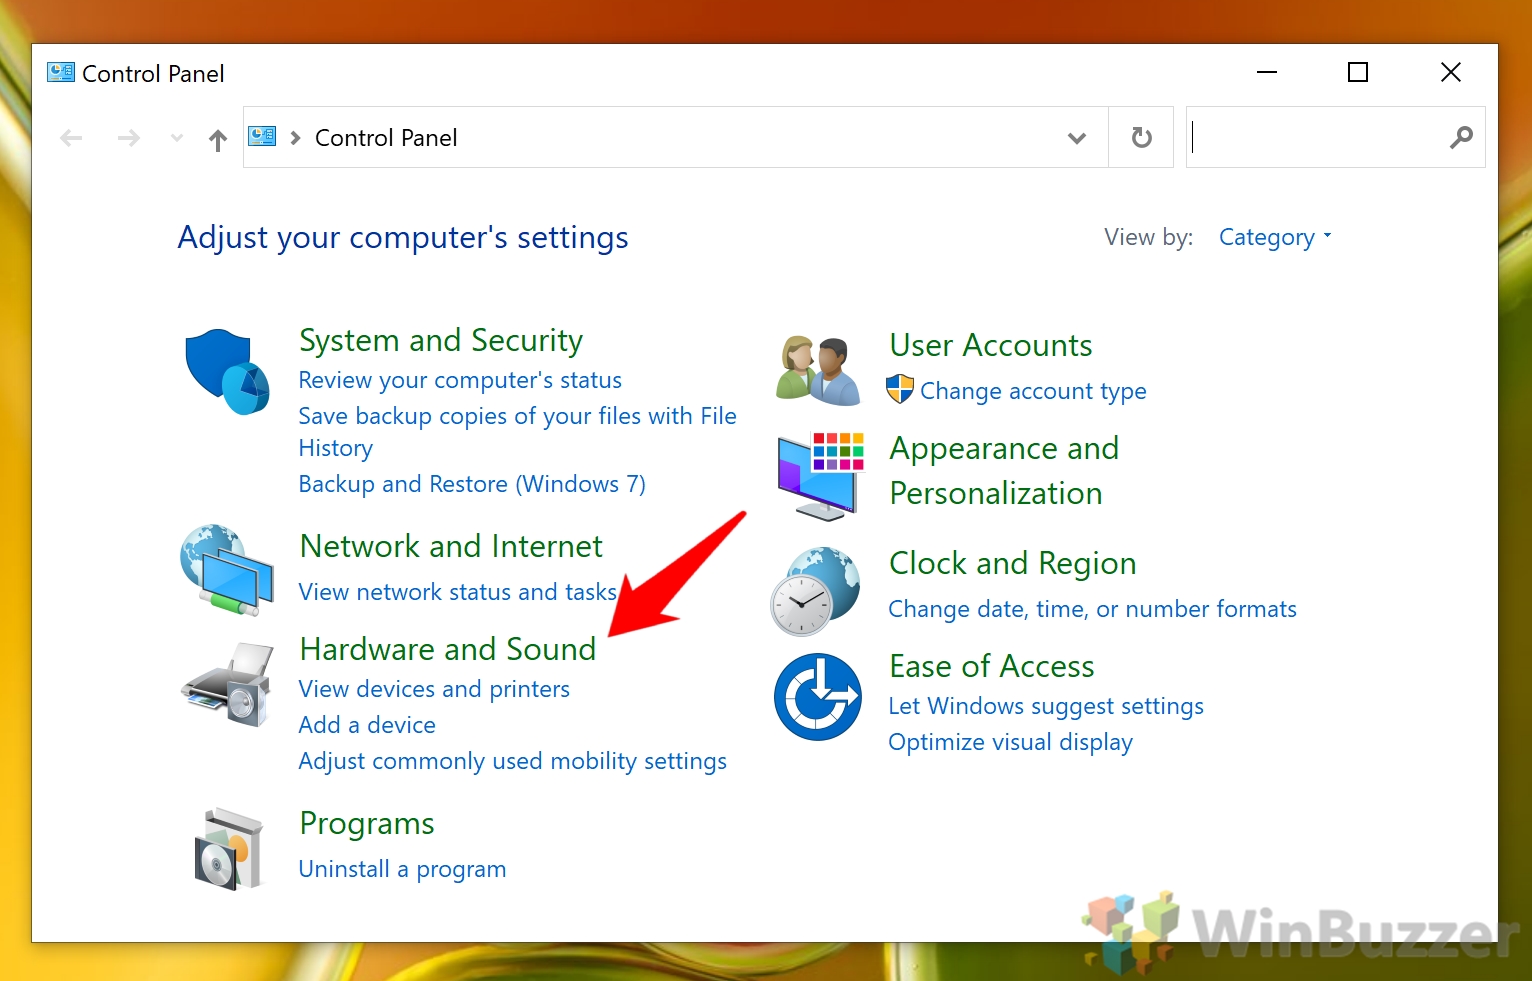
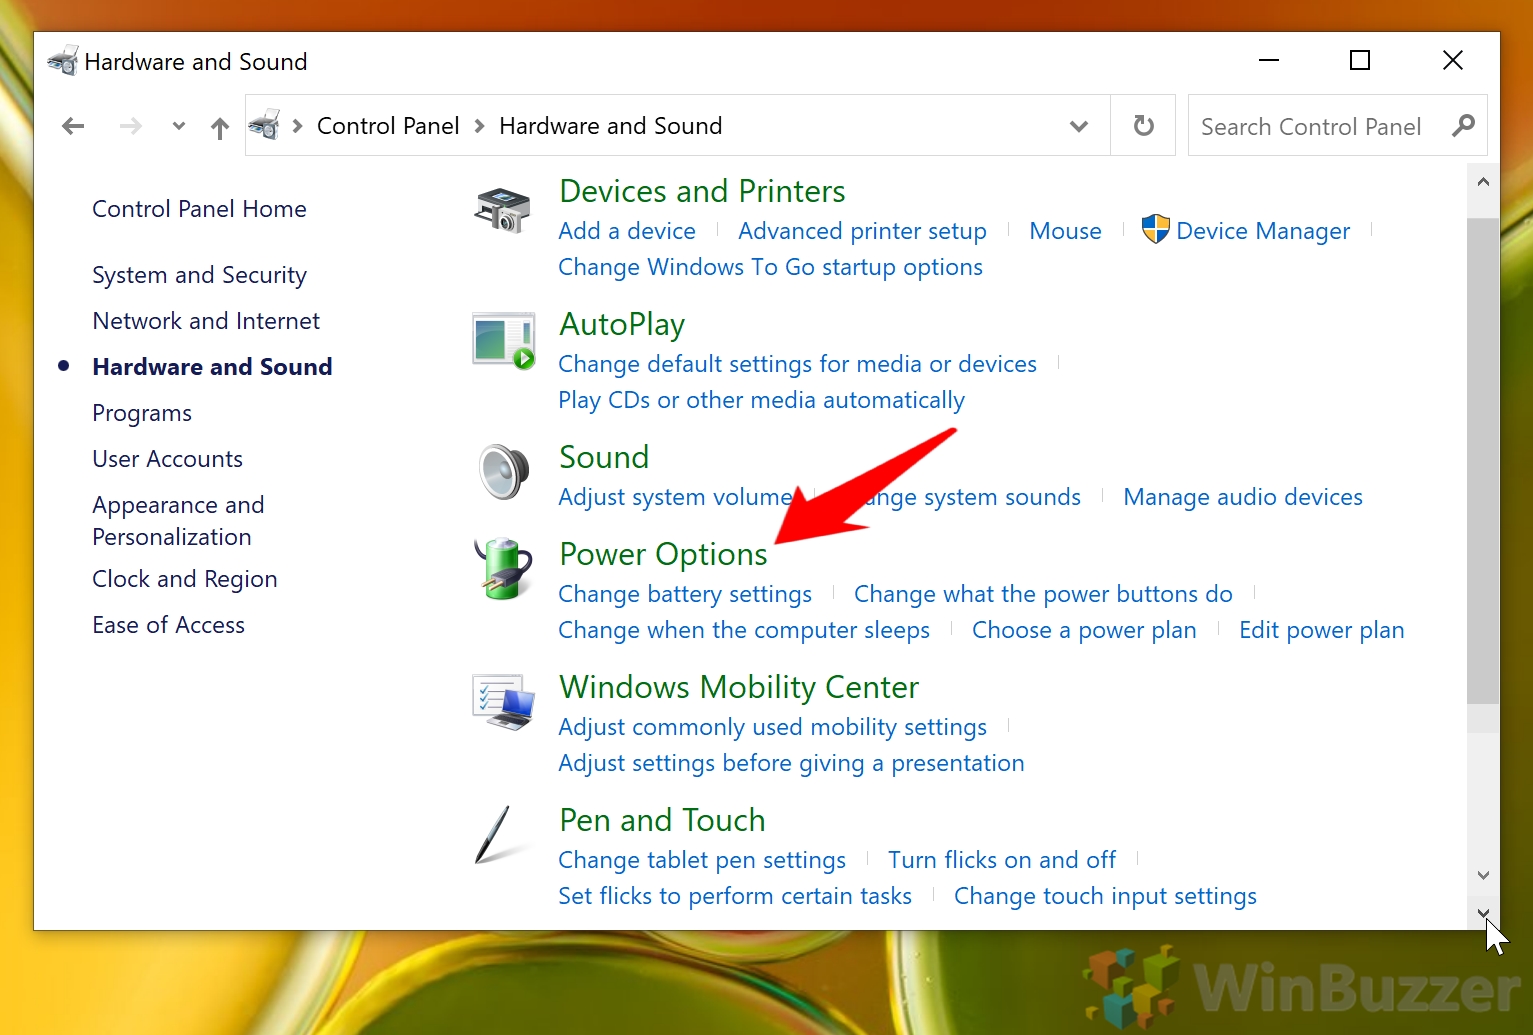
How to Enable or Disable USB Selective Suspend in Windows 10 via Control Panel
That rounds up this Windows 10 USB selective suspend tutorial. However, there are many more things you can do to improve your PC’s battery life. If you need some more juice, try the steps in our power throttling guide. You can also set your hard disk to after idle time to a lower value.
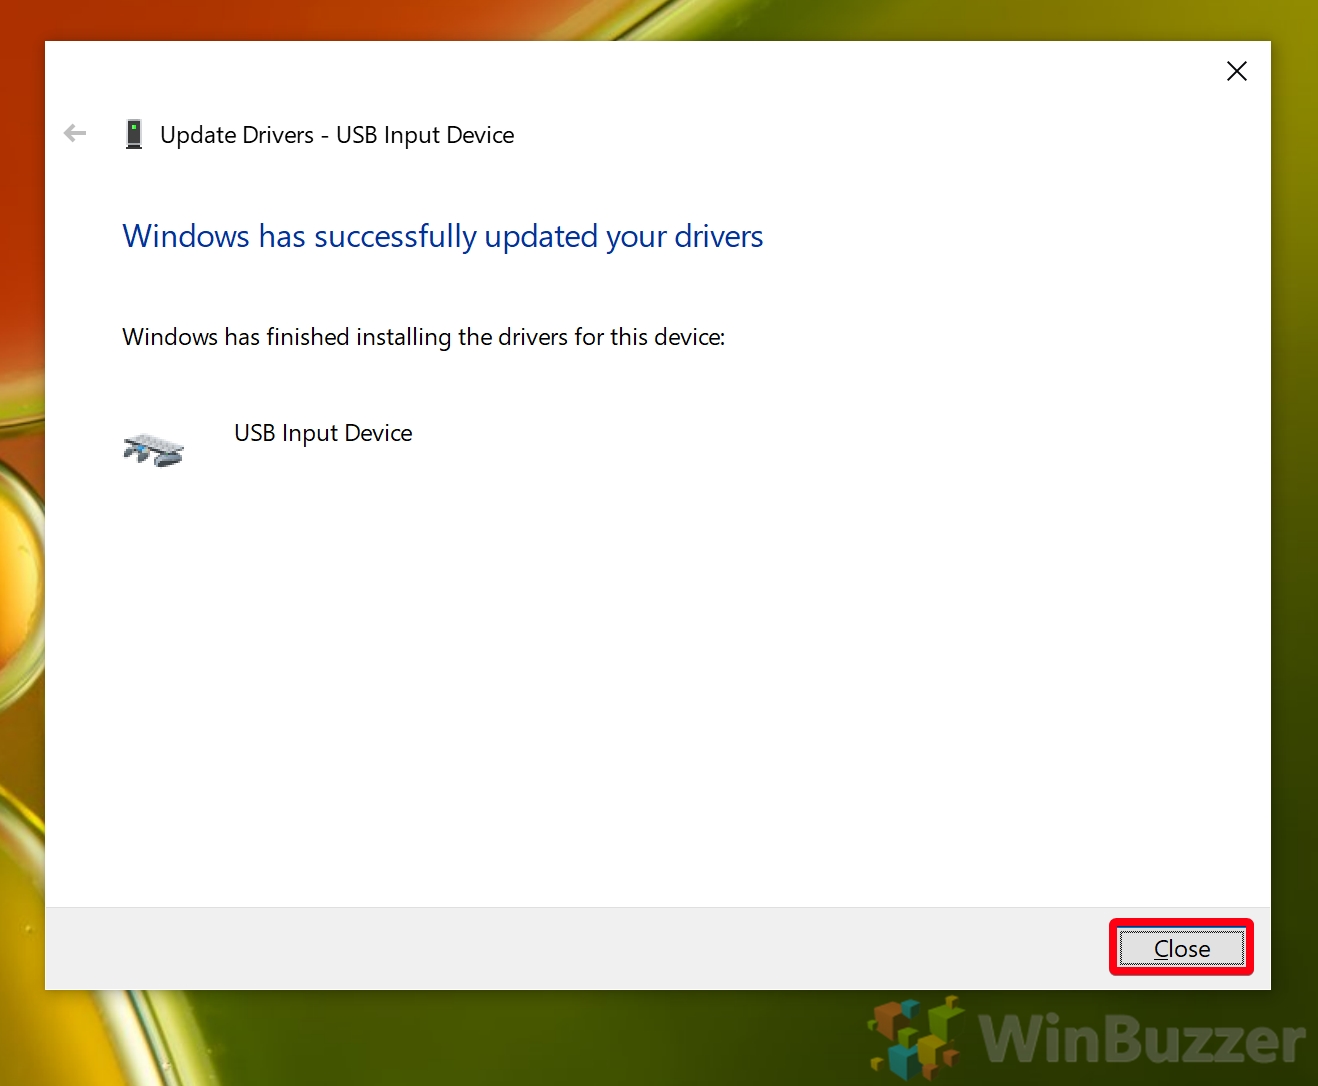
If you don’t get this message, or USB selective suspend still isn’t working, it’s possible your device does not support the feature. However, you can still continue with the Regedit method below to find out for sure.
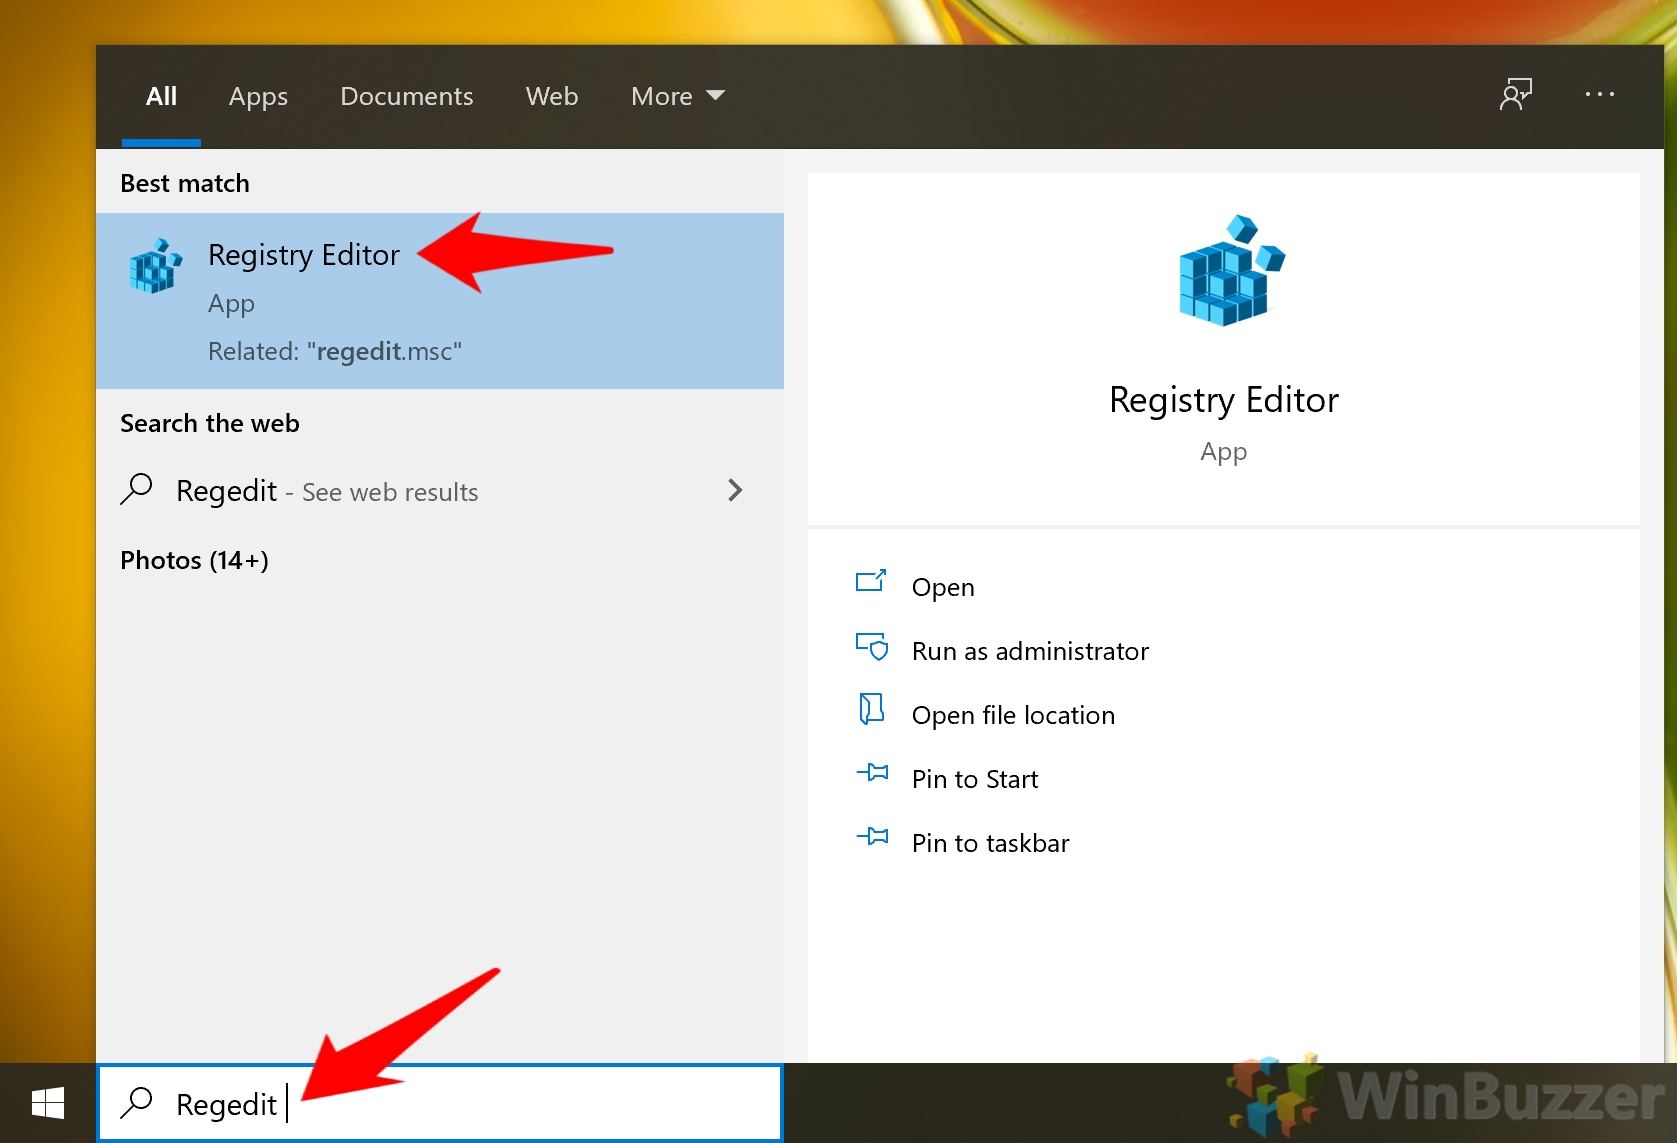
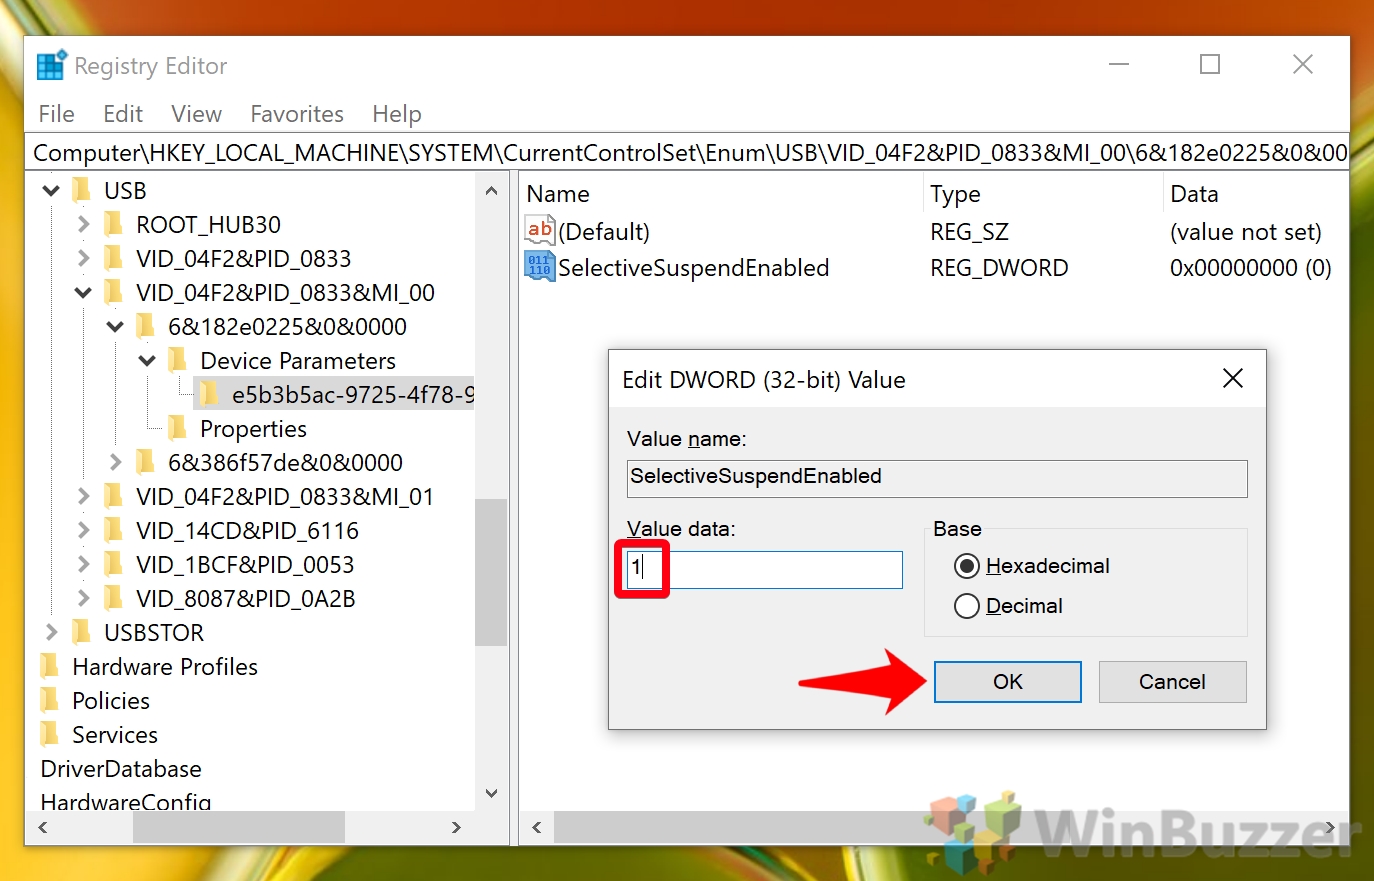
Find your device’s PID by right-clicking it in Device Manager and selecting Properties, then “Hardware IDs” in the “Details” tab. Find the device’s PID in the Registry Editor sidebar, then press Ctrl +F and search for SelectiveSuspendEnabled to check if there is already a registry entry under that name. If there isn’t, right-click in the sub-folder of “Device Parameters” and choose “New > DWORD (32-bit)”. Name it SelectiveSuspendEnabled.
1: Enable USB selective suspend 0: Disable USB selective suspend Press “OK” when you’re done.

